Cutting the steerer tube is a straightforward task, essential when installing a new fork or adjusting handlebar height. This guide provides
detailed instructions for both steel and carbon fiber forks, ensuring a precise and safe modification for optimal bike performance and aesthetics.
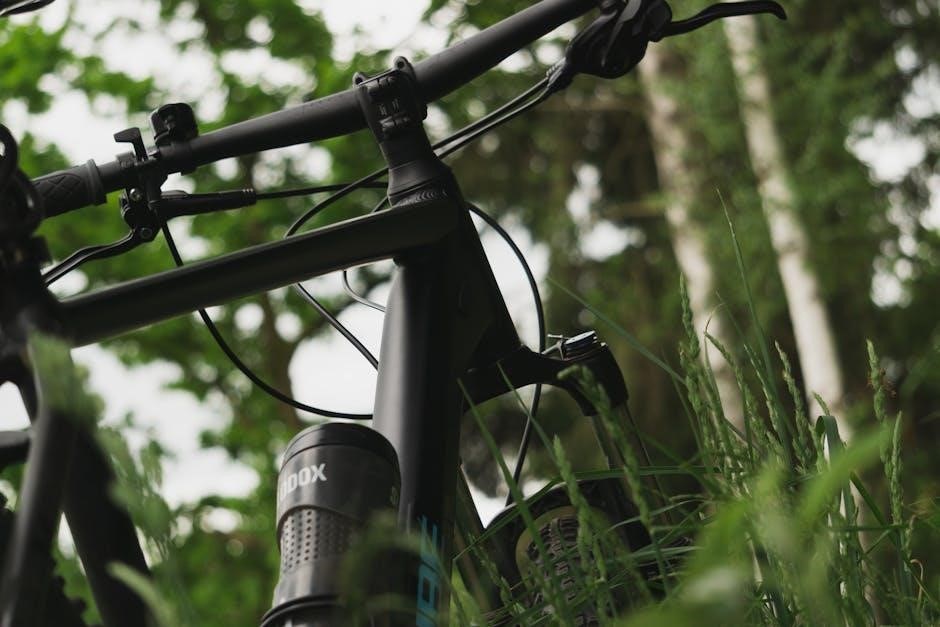
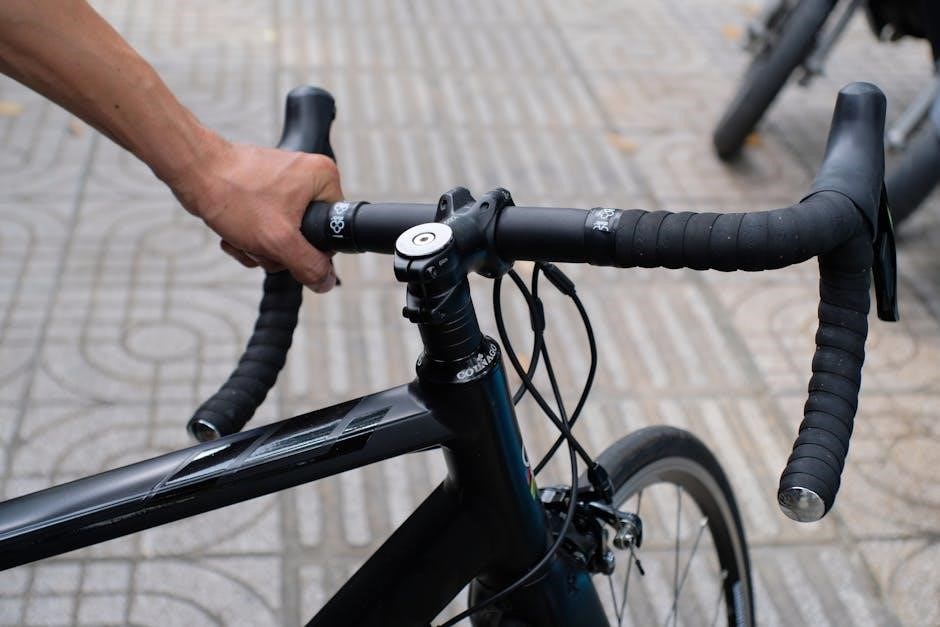
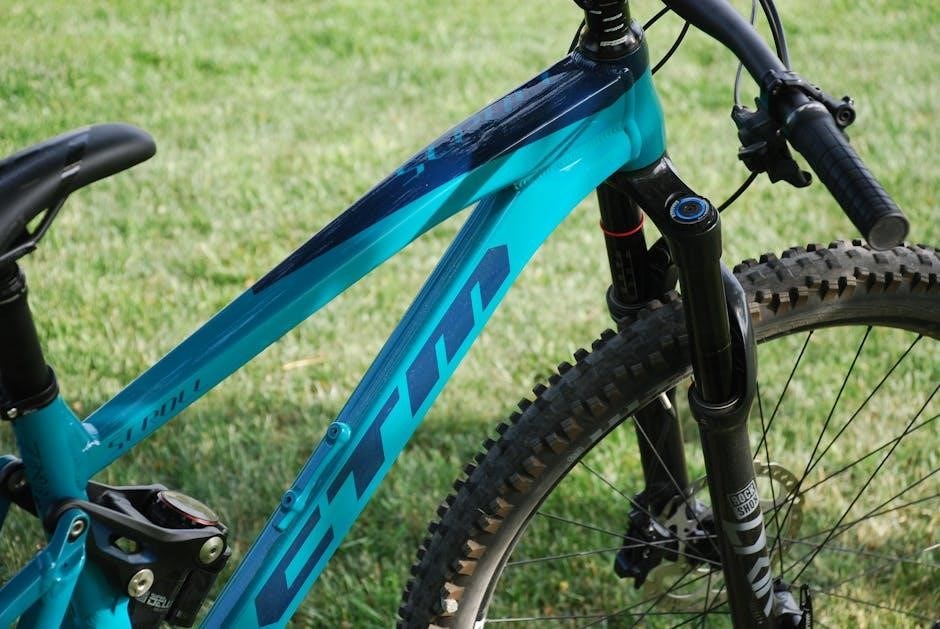
Fork steerer tube cutting is a common procedure undertaken when fitting a new fork or refining the bike’s fit and handling. Often, new forks arrive with excessively long steerer tubes to accommodate various headset configurations and rider preferences. This excess length needs adjustment for optimal performance and a clean aesthetic.
The process involves shortening the steerer tube to the correct length, allowing for appropriate spacer placement to achieve the desired handlebar height and preload. Successfully completing this task requires precision and attention to detail, as an incorrect cut can render the fork unusable or compromise the bike’s safety.
Whether you’re dealing with a steel or carbon steerer, understanding the specific techniques and tools required is crucial. While seemingly simple, improper execution can lead to damage, so careful consideration and adherence to safety precautions are paramount. This guide aims to demystify the process, providing a comprehensive overview for both novice and experienced bicycle mechanics.
Safety Precautions & Required Tools
Prioritizing safety is paramount when cutting a fork steerer tube. Always wear safety glasses to protect your eyes from metal filings or carbon fiber particles. A dust mask is also recommended, especially when working with carbon fiber, to avoid inhaling potentially harmful dust. Ensure a stable and well-lit workspace.
Essential tools include a hacksaw with fine-tooth blades (for steel), a carbon-specific saw blade (for carbon), a pipe cutter (ideal for steel), a metal file or deburring tool, measuring tape, a permanent marker, and painter’s tape. A steerer tube cutting guide is highly recommended for accurate, straight cuts.
For crown race removal, you may need a crown race removal tool or a DIY alternative constructed from PVC pipe and a star nut setter. Additionally, a torque wrench is crucial for properly tightening headset components post-cut. Remember, using the correct tools significantly improves safety and the quality of the final result.
Identifying Steerer Tube Material (Steel vs. Carbon)
Accurate material identification is critical before commencing any cutting. Steel steerer tubes are typically heavier and exhibit a metallic sheen. They are magnetically responsive – a magnet will readily stick to them. Steel forks are more common on older or budget-friendly bikes.
Carbon fiber steerer tubes, conversely, are significantly lighter and lack magnetic properties. They often have a distinctive woven pattern visible beneath the paint or clear coat. Carbon is prevalent in higher-end road and mountain bikes due to its vibration-damping characteristics and weight savings.
If unsure, carefully inspect the fork for any manufacturer’s markings indicating the material. A visual inspection combined with a magnet test usually provides a definitive answer. Using the wrong cutting techniques for the material – for example, a steel blade on carbon – can cause irreparable damage and compromise the fork’s structural integrity. Always err on the side of caution and consult a professional if uncertain.
Measuring and Marking the Cut Line
Precise measurement is paramount for a successful steerer tube cut. Begin by determining the desired steerer tube length based on your riding style and bike fit. Account for the headset stack height, stem length, and any desired spacers. It’s always better to leave it slightly long initially; you can always remove more material, but you can’t add it back!
Transfer measurements to the steerer tube using a permanent marker. Wrap several layers of painter’s tape around the tube at the intended cut line. This provides a clean cutting surface and minimizes splintering, especially crucial for carbon fiber. Ensure the tape is applied smoothly and evenly.
Double-check your markings before cutting. A slight error can necessitate significant adjustments or even render the fork unusable. Use a precise ruler or measuring tool and verify the measurement from multiple angles. A square can help ensure the cut line is perpendicular to the steerer tube’s axis.

Using a Pipe Cutter for Steel Steerer Tubes
A pipe cutter offers a remarkably clean and accurate method for shortening steel steerer tubes. Unlike hacksaws, it minimizes burrs and requires less physical effort. Select a pipe cutter sized appropriately for the steerer tube’s diameter, ensuring a snug but not overly tight fit.
Position the cutter around the steerer tube at the marked cut line, ensuring it’s perpendicular. Slowly tighten the cutter’s wheel, rotating it around the tube with consistent pressure. Avoid forcing the cut; allow the cutter to do the work. Multiple passes with increasing pressure are preferable to a single, aggressive tightening.
Monitor the cutting process closely. As the cutter nears completion, reduce pressure to prevent deformation or damage to the tube. Once the cut is complete, carefully open the cutter and remove the steerer tube. The resulting cut edge will be remarkably clean, requiring minimal deburring. This method is favored for its precision and ease of use.
Hacksaw and Guide Method for Steel Steerer Tubes
Employing a hacksaw and a reliable cutting guide is a traditional, yet effective, method for shortening steel steerer tubes. Securely clamp a metal cutting guide onto the steerer tube, aligning it precisely with your marked cut line. This ensures a straight and accurate cut, preventing unwanted angles.
Select a fine-tooth hacksaw blade designed for metal cutting. Begin cutting slowly and deliberately, applying even pressure. Avoid forcing the blade, as this can lead to bending or breakage. Maintain a consistent cutting angle, following the guide’s path. Rotate the steerer tube periodically to distribute the cutting effort evenly.
Take your time and prioritize accuracy over speed. Once the cut is complete, carefully remove the steerer tube from the guide. The resulting edge will likely require deburring to remove any sharp edges or imperfections. This method, while requiring more effort, remains a viable option for those without a pipe cutter.
Carbon Steerer Tube Cutting Considerations
Cutting a carbon steerer tube demands significantly more caution than steel, due to the material’s susceptibility to delamination and cracking. Unlike metal, carbon fiber doesn’t bend; it fractures. Therefore, precision and the correct tools are paramount. It’s strongly advised that if you lack experience with carbon fiber, you should entrust this task to a professional bike mechanic.
Avoid using a standard hacksaw. The vibrations and pressure can easily damage the carbon fibers. Instead, specialized carbon cutting tools are essential. Proper support is crucial to prevent the tube from ovalizing during the cut. Securely clamp the steerer tube in a padded vise, protecting it from scratches and compression.
Slow and steady cutting is vital. Rushing the process increases the risk of splintering or damaging the carbon layup. Remember, a clean, precise cut is essential for maintaining the structural integrity of your fork. Always prioritize safety and consider professional assistance if unsure.
Recommended Blade Types for Carbon Fiber
Selecting the correct blade is non-negotiable when cutting carbon fiber. A carbon saw blade, specifically designed for composite materials, is the minimum requirement. These blades feature fine teeth and are engineered to slice through the carbon fibers cleanly, minimizing splintering and delamination. Avoid blades intended for metal, as their aggressive tooth pattern will likely cause significant damage.
Diamond-coated blades offer an even cleaner cut and are highly recommended for professional results. While more expensive, they provide superior precision and reduce the risk of fiber fraying. Ensure the blade is sharp; a dull blade requires more force, increasing the chance of damaging the carbon layup.
Consider a zero-rake blade, which further minimizes chipping and splintering. Regardless of the blade type, use a slow cutting speed and light pressure. Remember, patience is key when working with carbon fiber. A clean cut preserves the fork’s structural integrity and ensures a safe ride.
Protecting the Steerer Tube During Cutting
Protecting the steerer tube from damage during cutting is paramount, especially with carbon fiber. Begin by thoroughly cleaning the area to be cut, removing any dirt or debris. Applying painter’s tape around the cut line is crucial; it acts as a barrier, reducing splintering and providing a smoother cutting surface. Wrap several layers for enhanced protection.
Secure the steerer tube firmly in a vise or cutting guide to prevent movement during the cutting process. Movement can lead to an uneven cut and potential damage to the carbon fibers. For carbon, consider using soft jaws on the vise to avoid crushing the delicate material.
Slow and steady wins the race. Avoid applying excessive force or speed during cutting. Let the blade do the work, and maintain a consistent cutting motion. Regularly inspect the cut line for any signs of delamination or splintering, and adjust your technique accordingly. Careful preparation and execution are vital for a clean, damage-free cut.
Crown Race Removal Techniques
Removing the crown race is a necessary step when transferring or shortening a fork. Begin by carefully inspecting the race for any notches at the back, which can provide a starting point for a flathead screwdriver. Gently pry upwards, working your way around the race. A chisel or knife can also be used to initiate the process, but exercise extreme caution to avoid damaging the fork crown.
For stubborn races, consider utilizing a dedicated crown race removal tool. These tools apply even pressure, minimizing the risk of damage. Alternatively, a DIY solution can be crafted using PVC pipe and a star nut setter with a bolt, creating a makeshift puller.
Affordable puller/setter options are available from brands like Chain Reaction, X-Tools, and various Amazon sellers. Remember to support the fork crown adequately during removal to prevent bending or deformation. Patience and a gentle approach are key to a successful crown race removal.
DIY Crown Race Removal Tools
Creating your own crown race removal tool is a cost-effective alternative to purchasing a dedicated setup. A common method involves utilizing readily available PVC pipe. Select a pipe diameter slightly larger than the crown race, then carefully cut a section to create a sleeve. Combine this with a star nut setter and a bolt; the bolt will apply pressure against the star nut setter, which in turn pushes against the crown race.
Ensure the PVC sleeve fits snugly around the fork’s steerer tube to provide stable support. Tightening the bolt gradually will coax the crown race upwards. It’s crucial to maintain even pressure and avoid excessive force, which could damage the steerer tube or fork crown.
While not as refined as commercially available tools, this DIY approach can be surprisingly effective. Remember to prioritize safety and proceed with caution. Always double-check the setup before applying force, and consider using a protective layer to prevent scratching the steerer tube.
Affordable Crown Race Puller/Setter Options
For cyclists seeking a balance between cost and convenience, several affordable crown race puller and setter options are available. Brands like Chain Reaction, X-Tools, and various Amazon vendors offer tools that provide a more precise and reliable solution than DIY methods. These typically range in price, making them accessible to a wider range of budgets.
These tools generally consist of a base plate, a threaded rod, and a set of adaptors designed to fit different crown race sizes. The threaded rod applies controlled pressure, lifting the crown race cleanly from the fork. Setting the new crown race is often achieved with a similar setup, ensuring a secure and flush fit.
Before purchasing, check reviews and ensure the tool is compatible with your fork’s steerer tube diameter and crown race type. Investing in a dedicated tool minimizes the risk of damage and simplifies the process, ultimately saving time and frustration.
Cutting Spacers for Preload Adjustment
Precise preload adjustment is crucial for optimal headset performance and steering feel. When shortening a steerer tube, you’ll likely need to create new spacers to maintain the correct preload. A chop saw or similar tool capable of making 90-degree square cuts is recommended for this task. Accuracy is paramount to ensure proper headset function.
Begin by cutting two spacers, each 1.5mm shorter than the original spacers removed from the steerer tube. These will serve as preload spacers, positioned above the stem. Subsequently, cut two additional spacers, also 1.5mm in length, intended for placement under the lower spring stop. This configuration allows for fine-tuning of the headset’s compression.
Ensure the cut edges are clean and deburred to prevent damage to the headset bearings or stem. Using a metal file or sandpaper can achieve a smooth finish. Remember to carefully consider the stack height and desired handlebar position when determining spacer lengths.
Creating Lower Spring Stop Spacers
The lower spring stop spacers are vital components, preventing excessive headset compression and ensuring smooth steering. After shortening the steerer tube and adjusting preload spacers, creating these is the next step. Utilizing the same chop saw or precise cutting tool used for the preload spacers guarantees consistency and accuracy.

Cut two spacers, each measuring 1.5mm in length. These spacers are positioned beneath the lower spring stop, effectively limiting the upward travel of the fork. Maintaining the correct height of the lower spring stop is critical for proper headset function and preventing damage to the steerer tube or headset bearings.
Similar to the preload spacers, meticulous deburring and finishing of the cut edges are essential. A smooth surface prevents friction and potential wear on the headset components. Precise measurements and clean cuts contribute to a reliable and long-lasting headset setup, enhancing your bike’s performance and safety.
Deburring and Finishing the Cut Edge
Deburring the cut steerer tube is a crucial step, often overlooked, yet vital for safety and longevity. Regardless of the cutting method – pipe cutter, hacksaw, or chop saw – a sharp, uneven edge will inevitably remain. This edge can cause damage to internal headset components, fray cables, or even injure your hands during installation or maintenance.
Begin by using a fine-grit file to carefully remove any burrs or sharp edges from both the inside and outside of the tube. Work in a circular motion, ensuring a smooth, consistent finish. Applying painter’s tape before cutting can significantly reduce splintering, minimizing the amount of deburring required.
Follow up with a light sanding using progressively finer grit sandpaper. This polishes the edge, eliminating any remaining imperfections. A clean, smooth edge ensures proper headset bearing seating and prevents premature wear, contributing to a reliable and enjoyable riding experience. Don’t skip this step!
Installing the New Crown Race
Installing the new crown race requires precision to ensure proper headset function. After removing the old race and preparing the steerer tube, carefully align the new race. A dedicated crown race setter tool is highly recommended for this task; improvised methods can damage the race or steerer.
Apply a thin layer of grease to the steerer tube where the crown race will sit. This aids installation and prevents corrosion. Position the crown race squarely onto the steerer, ensuring it’s fully seated. Using the crown race setter, gradually and evenly drive the race down until it’s flush with the steerer’s bottom edge.
DIY options utilizing PVC pipe and a star nut setter with a bolt can work, but require extreme caution. Affordable crown race puller/setter options from brands like Chain Reaction, X-Tools, or Amazon are readily available and offer a safer, more reliable solution. Verify proper seating and alignment before proceeding.
Post-Cut Steerer Tube Inspection
Post-cut inspection is crucial for safety and proper headset functionality. Thoroughly examine the cut edge of the steerer tube for any burrs, sharp edges, or imperfections. These can damage headset bearings or cables, leading to premature wear or failure. Use a deburring tool or fine sandpaper to smooth the edge meticulously.
Inspect the crown race seating, ensuring it’s fully and evenly pressed onto the steerer tube. Any misalignment or incomplete seating will compromise headset performance. Check for cracks or damage to the carbon fiber (if applicable), especially around the cut area. Even minor damage can weaken the steerer.
Verify the steerer tube length allows for sufficient spacer adjustment to achieve your desired handlebar height. Confirm the lower spring stop is positioned correctly, providing adequate compression for the headset bearings. A final visual check ensures everything is aligned and secure before reassembling the headset and stem.